Use the document actions method switchPage in the Actions.cs file to set a new document size on your template predefined to the A1 to A10 format steps.
This can be applied to forms templates only! However, you can predefine with area template rules on each master page how the layout for each size will appear.
Download this template to see an example of the method.
Step1:
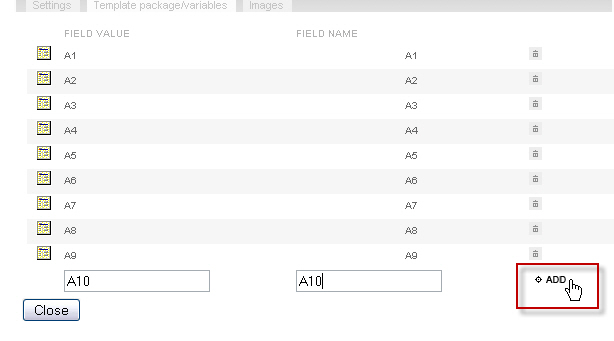
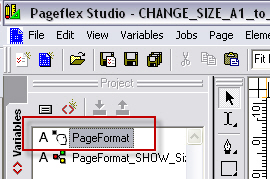
Set the values of the variable PageFormat (in your projectfile.pf) in the form field drop down list in isave (ie. A2, A3, A4, A5 etc.).
Step2:
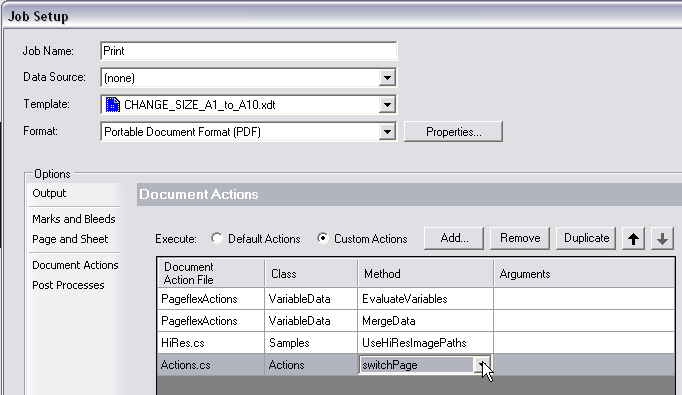
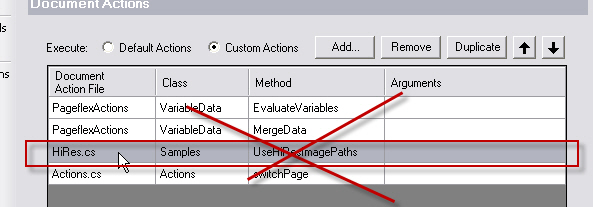
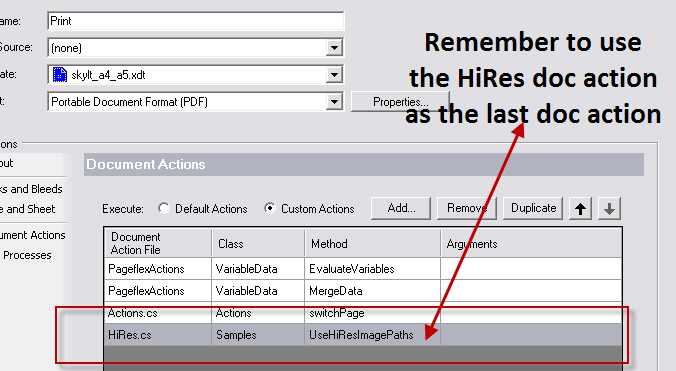
Use the method switchPage in the document action file Actions.cs in the Print, Lowres and preview Jobs.
Step3:
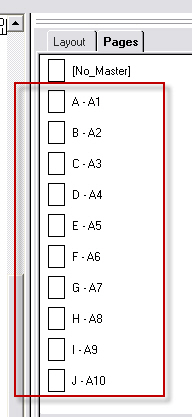
Define a master page for each size used in the drop down list in isave. Note that you can insert static background PDF files from an image rule or you can have a totally re-sizable template, but you have to have a master page that responds to the different sizes used in the drop down list in isave. Test your template in PF Studio in the different sizes before uploading it to isave to avoid debugging it on the server. Note that the master pages have to be named A1 to A10, but you only need the sizes you have defined in the drop down list in isave.
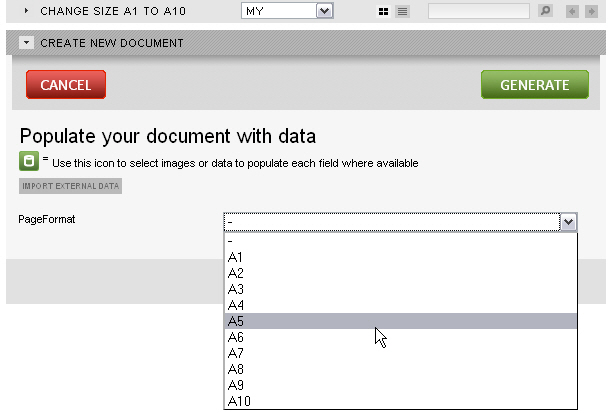
This is how the end user changes the document size:
You can rename the variable PageFormat in isave, but not in the projectfile.pf
Note that templates should be made with proper flex rules to create a nice output.
Use CopyFit, bumpers, horizontal and vertical groups with maximize settings.
NB. Remember to put the HiRes document action as the last document action in the Print Job!

