Quick link: Static documents and Templates
See this page to learn how to Add a supplier and this page to learn how to Assign a price to an asset
See this page to view our check-list for templates.
Please note. Supporting files like images and logos used in a template should be uploaded under isave.FILES
The file types supported by isave are:
“.jpg”, “.jpeg”, “.bmp”, “.png”, “.gif”, “.pdf”, “.eps”, “.tif”, “.ppt”, “.pptx”, “.pps”, “.ppsx”, “.xlsx”, “.xls”, “.doc”, “.docx”, “.csv”, “.zip”, “.txt”, “.ai”, “.indd”, “.dot”, “.dotx”, “.pub”, “.swf”, “.psd”, “.m4v”, “.mp4″, ”.mp3″, “.flv”, “.mov”, ”.wmv”,“.avi”
Here is a quick overview of the different document settings
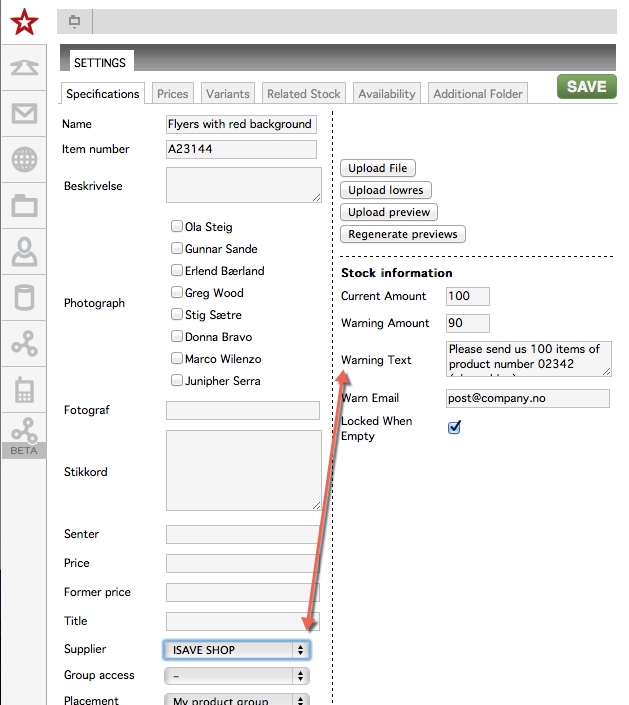
Name gives s document name to the element in isave (will be overridden by the filename when uploading a file).
Item number is the method to set a unique referece number/code for a product (optional).
Supplier is the supply partner that will fulfill the ordered product(choose a supplier from the drop down list).
Group access lets you narrow the product access to one or more specific groups.
Placement overrides the currentplacement of the product (choose a different placement from the drop down list).
HiRes setting lets you control access of the Hi-Res file(choose between three types from the drop down list).
- Not available for customer (default value that hides the HiRes file in all steps)
- Always available (shows the HiRes file in all steps)
- Always in orderdetails (shows the HiRes file in the order details page)
Upload file (button) lets you upload a file to isave (a post process on the server makesLowres and preview files).
Upload preview (button) lets you upload a preview file to isave (when you wish to override the preview made by the post process or the server doesn’t makes a preview files, e.g. when uploading a PPT file).
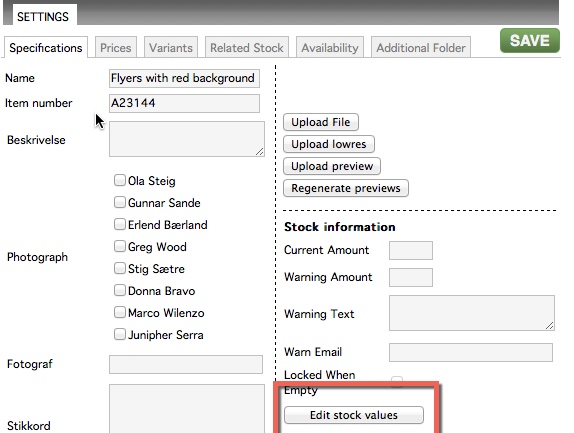
Stock Control feature with the following options/functions:
- – Starting Stock
- – Current Stock, with automatic stock level calculation
- – ‘Stock-Low Warning’ and notification-setup
- – Automatic Order Blocking when Order Quantity exceeds Current Stock
Print > Product > Admin > Settings > SPECIFICATIONS > Edit stock values
An e-mail with the Warn Text is sent to the supplier when the stock ordered drops beneath the Warn Level Amount.
If the check box Locked When Empty is checked users will be unable to order the item if no stock is available.
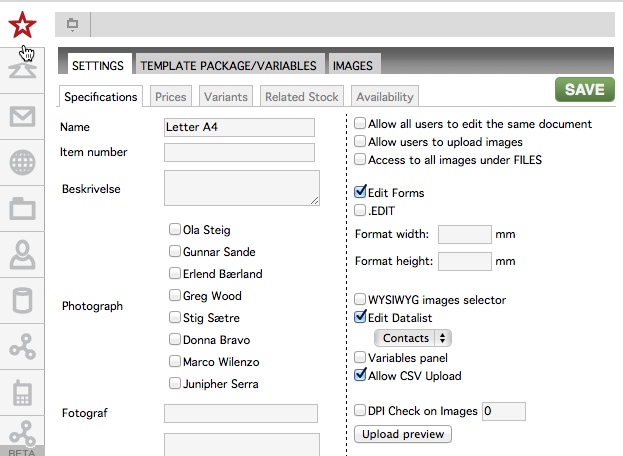
Here is a quick overview of the different template settings
Name gives a document name to the element in isave (will be override by the filename when uploading a file).
Item number is a method to set a unique number/code for a product (optional).
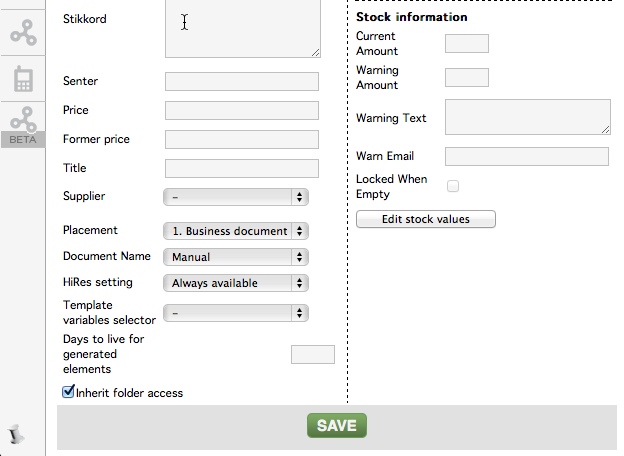
Supplier is the supply partner that will fulfill the ordered product(choose a supplier from the drop down list).
Placement overrides the currentplacement of the product (choose a different placement from the drop down list).
Document Name lets you control the element name of created documents in isave (the default value is MANUAL and with this setting the user can give a name to the element themselves but can also select a variable (e.g. Name) from the drop down list when a packager zip is uploaded to the template placeholder. Please note that if you don’t see any variables in the drop down list, please be sure to save the settings and refresh the page by accessing it again via Print > Templatename > Admin > Settings.
HiRes setting lets you control access of the Hi-Res file(choose between three types from the drop down list).
- Not available for customer (default value that hides the HiRes file in all steps)
- Always available (shows the HiRes file in all steps)
- Always in orderdetails (shows the HiRes file in the order details page)
Days to live for generated elements lets you set a ‘time-before-purging’ on your dynamically created files on a per template basis. This will prevent outdated files from filling your available storage space. Type in the number of days in the field “Days to live for generated elements” (for example 30 days).
Access lets you narrow the template access to one or more specific groups or to Admin only (TIP: use Admin only when testing a template before deploying it).
(check box) is used when the template has form fields (text typed by the user or from one or several database connections).
.Edit lets the customer open the template in a WYSIWYG mode. This is how the .edit looks like inside the document. They can click “edit document” to access the WYSIWYG mode.
WYSIWYG images selector lets the user select images from isave.FILES to use in the creation of the PDF file.
This setting will result in this view for the customer.
The user selects an images folder from isave.FILES and selects the images by checking the checkboxes. When the image selection is done, press the “add to selection” button to close the lightbox. The images will show as above.
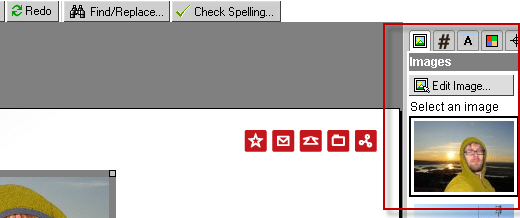
This is how the user sees the images in the WYSIWYG step.
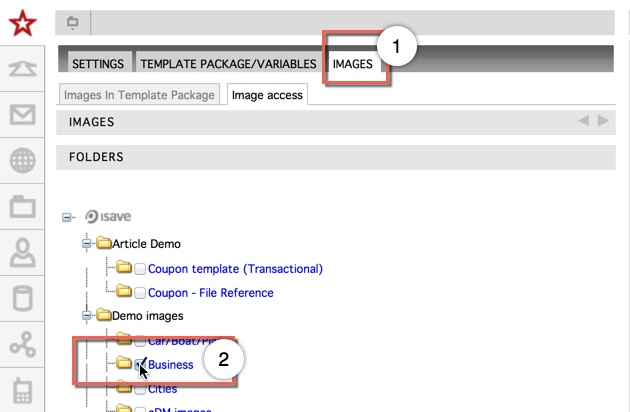
Images can also be connected directly to the template from isave.FILES to be used in the creation of the PDF file. Click the admin button on the template.
Click the Images tab and select one or more image folders from isave.FILES.
Click the Image folder name to view the content of a folder in isave.FILES. The images will appear below all the folders.
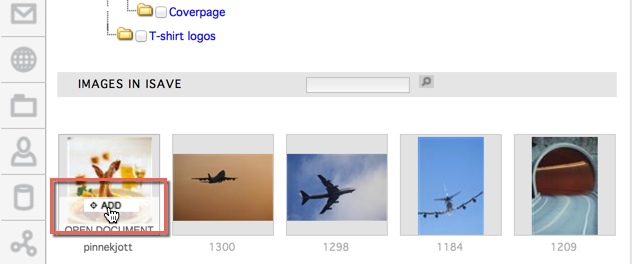
Click the ADD button to select images to add to the template.
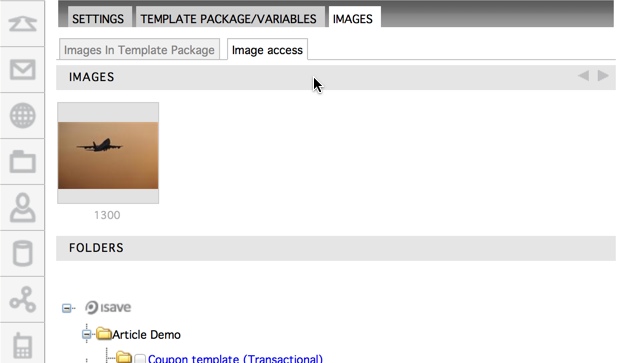
The added images will appear over the folders and be visible only in WYSIWYG mode under the Images panel.
Images can also be uploaded and connected directly to the template, but these images will not be avaliable for reuse under isave.FILES.
Click the UPLOAD IMAGES panel and find the images that you want in your template.
The added images will appear under the images in template package tab and be visible only in WYSIWYG mode under the Images panel.
Edit Datalist lets the user generate a PDF or PPML file based on a set of records stored under isave.DATALIST or from a CSV file.
Variables Panel lets the user select variables from the project file to use in the creation of the final PDF file.
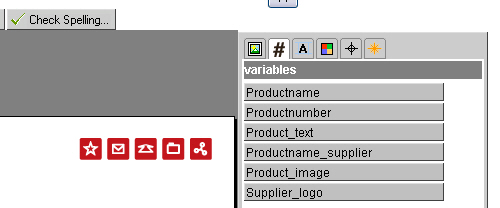
In WYSIWYG mode insert this code into the DOTEditConfig.xml file:
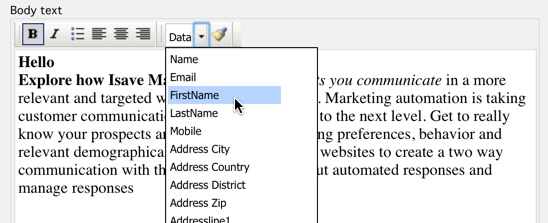
In form templates variables can be inserted with the data drop down in the advanced toolbar:
Can also be used in Articles.
Quick link: Static documents and Templates


