This “how to..” guide will help you to remove duplicate e-mail addresses in your existing Excel customer database before importing the data to isave.
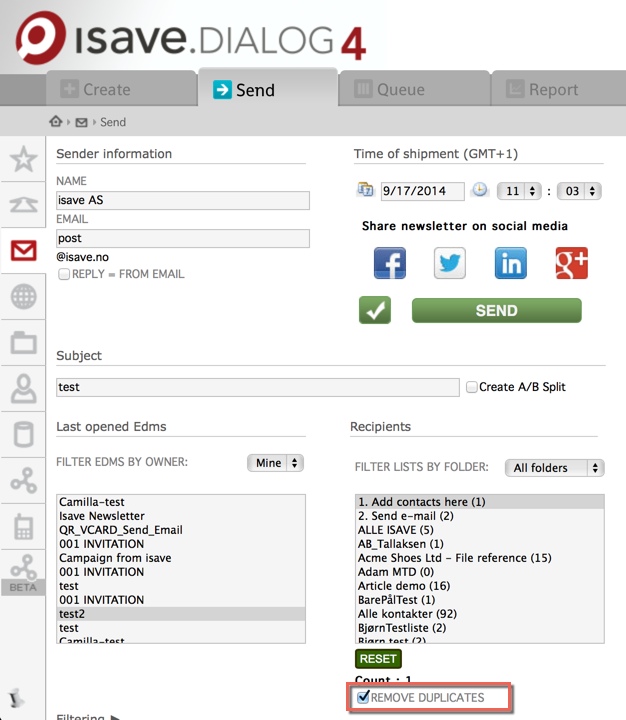
This is guide is only meant as a help to organize your data, but is not a mandatory routine, because you can always use the built in feature in isave called Remove Duplicates when you send your e-mails. This check box is checked on by default and is located under send – recipients.
Start by opening your Excel file in Microsoft Excel
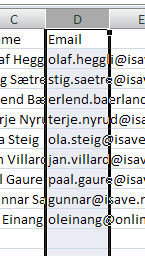
Start by selecting the column in your spreadsheet you want to be unique. The most appropriate here is to select the e-mail (email) column when contacts may have other unique values such as titles, middle names, etc. Anyway you will probably only send out one e-mail per address.
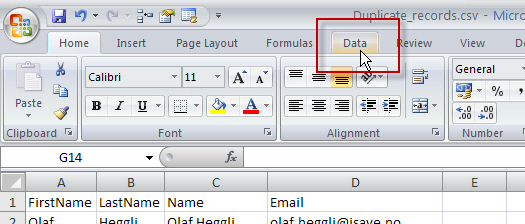
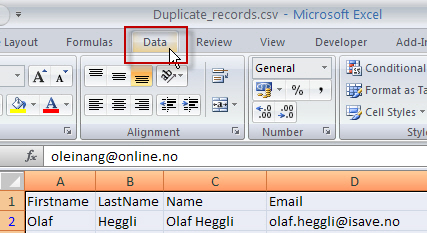
Click on the DATA button in the top menu.
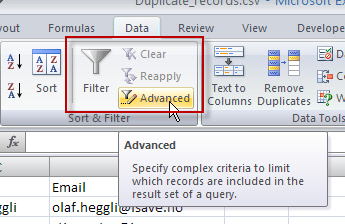
Click the Advanced button under the Filter menu.
An error message will pop up that says that Excel can not know what the column names in your worksheet, press OK if the top row of your spreadsheet is the column names.
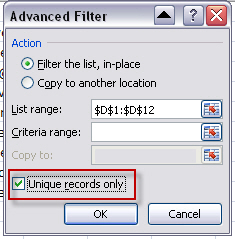
Check the box Unique Records Only, and press the OK button.
The filtered list is displayed and the duplicate rows are hidden.
Select all data (CRTL+A)
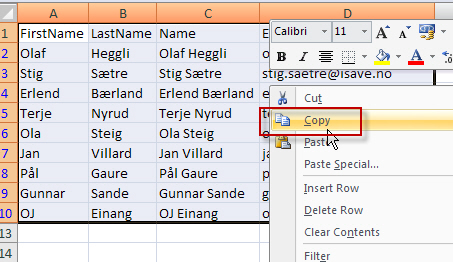
Right-click on the sample and select Copy from the menu.
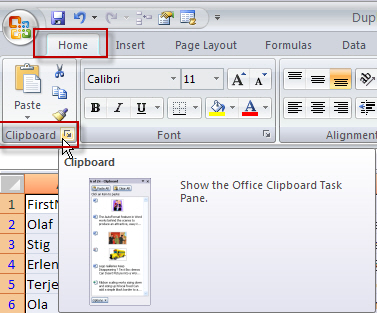
To check that you have copied the selection, click the Home button and the buttonClipboard (Edit, Office Clipboard in Office 2003). This is optional, but may be useful to verify that you had copied all the data.
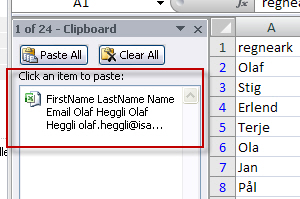
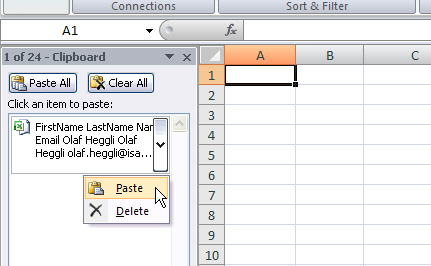
This is how your clipboard will look like.
Click on the DATA button on the top menu again.
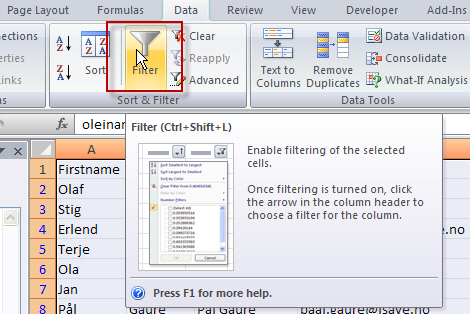
And the Filter button.
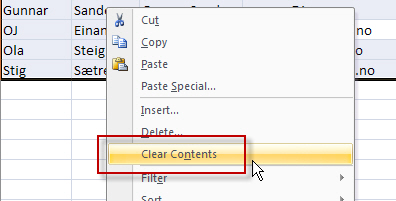
When all data appears again and you can now delete all the original data by selecting all rows in Excel worksheet (CTRL + A) and clicking Delete on the keyboard, or right click and select Clear contents.
To insert the limited (and unique) data set the cursor in the first row / column and select Paste (paste) from the Clipboard (Clipboard).
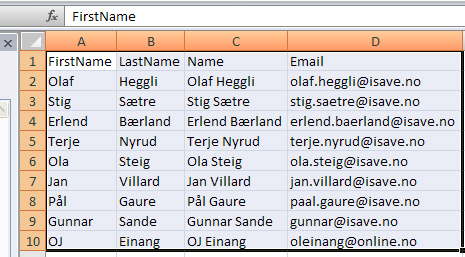
You now have a list with only unique e-mail addresses.

