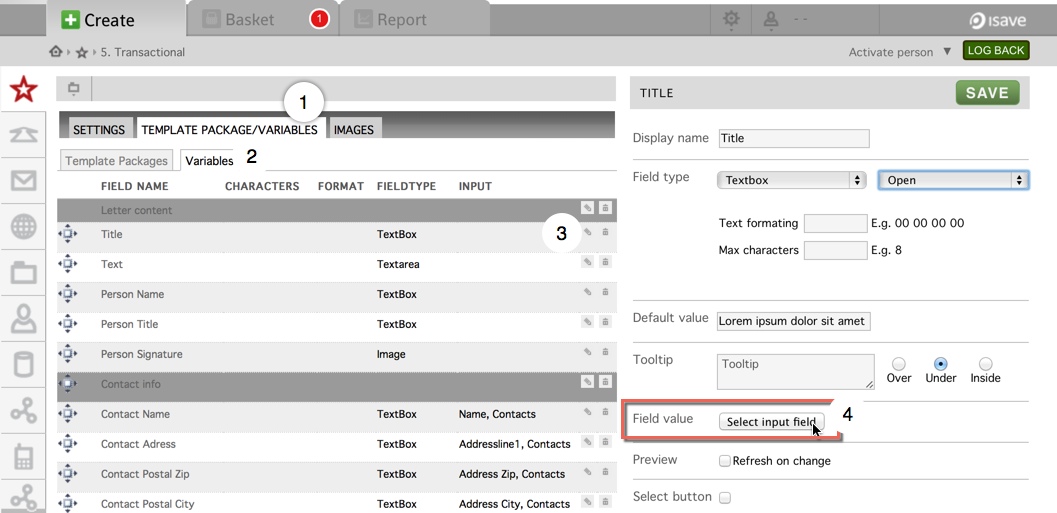
Linking data to a template is used when you want to populate a PDF document based on data registered in the isave structure or when using isave.DATALIST.
The main four databases that can be used are the Company, Group, Person and Contact databases. Note that you can add specification fields to all these databases if the standard fields don’t cover your requirements.
E.g. a business card can collect the logo and web address from the Company DB, the postal and office addresses from the Group DB, the phone and email from the Person DB.
E.g. a personalized letter will use the postal and office addresses from the Group DB, the phone and signature from the Person DB and the end user postal addresses from the Contacts DB.
Here is an example how a product sheet is set up to collect different variables from the products DB.
From the input menu select the Database value and then the field value you want.
Note that you can add specification fields to all these databases if the standard fields don’t meet your requirements.
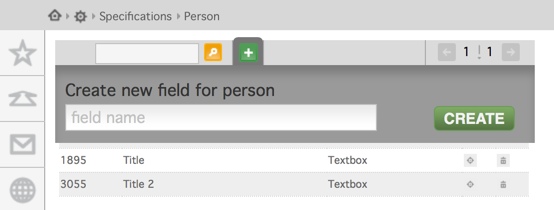
To add a new specification field, click the System // Specifications button.
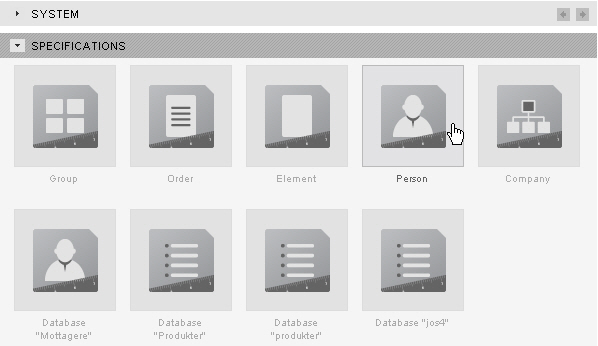
Select the appropriate database to add the specification fields to.
Click on the green plus button, select a name for your new field and press the create button.
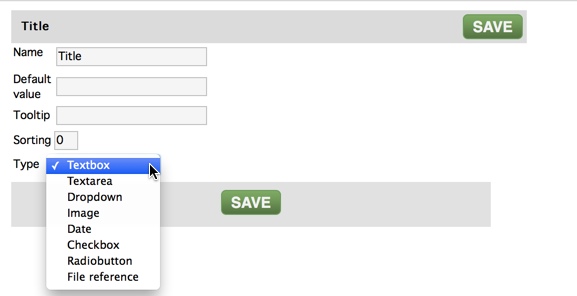
Select the type of input to use in your new specification field. The most common types in use are the Text box, Text area as well as Image (logos and signature files).
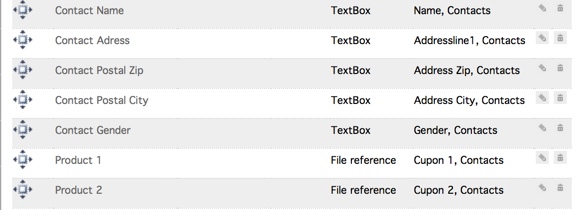
When all the variables in your template are linked to a database you will see the path to the variable connection and its mother database in the grid view of the variables.
A good business card project has all their variables connected so that the end user only has to press the generate button and not fill out any of the fields.
Tip: Even if the end user is not going to create and order dynamically created elements in isave, the templates should be set up with data linking so that a CSV file with all the employees of a company can be imported to isave and a local administrator can create a dynamically created element by selecting the person to create an element on behalf of.
Tip 2: To save a .XLS file as an “isave ready” CSV file in Office 2007 you perform these steps:
1. Choose Save As option from the file menu and select CSV (comma delimited) as the designated format.
2. Open the CSV file in notepad and save it as CSV again (but in UTF-8 format)
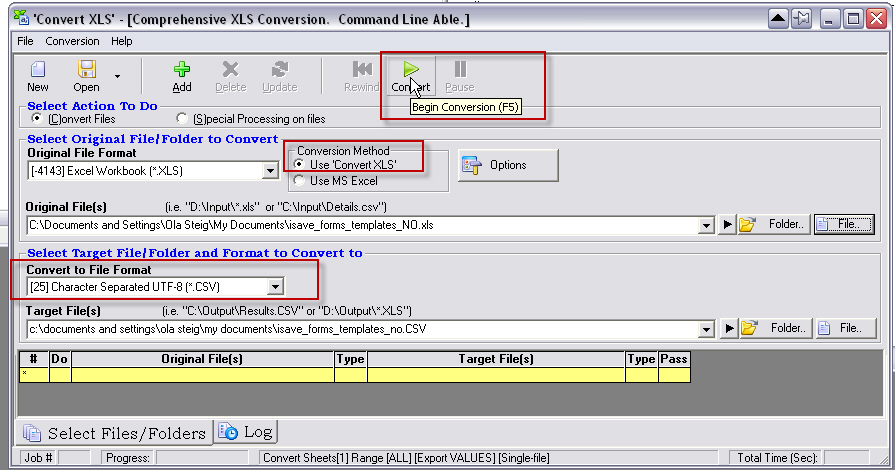
Tip 3: If you have trouble saving CSV files from Excel (Office 2003 and earlier) try this excellent application (freeware)

